How to Use a French Press Coffee Maker – Recipe, Tips & FAQs
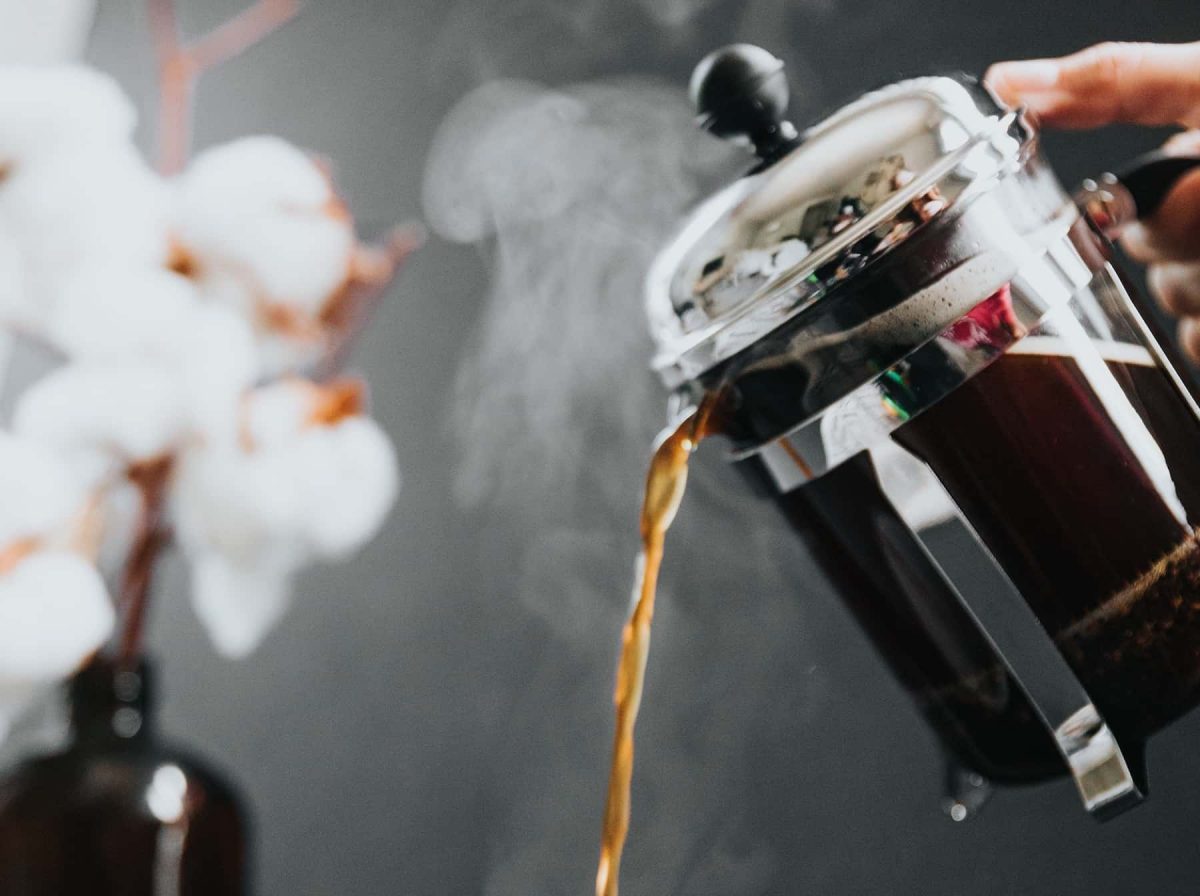
French press coffee isn’t flashy. It isn’t based on cutting-edge technology or expensive gadgets. Instead, it’s the often overlooked classic that continues to deliver amazing results brew after brew, year after year.
If you appreciate the simplicity and amazing flavors that manual brew coffee delivers, the French press is a great option to keep in the toolkit. It is a full-immersion method that is easy for beginners to pick up. But it is also well-suited to the coffee craftsperson who desires quality.
At the basics, the press is a cylinder with a plunger. The bottom of the plunger (or the piston) is fine mesh which pushes coffee grounds down while allowing liquid (now filled with all the oils and extracted flavors we crave) to flow through freely.
While it is basic, though, the French press actually grants you a lot of freedom. You have control over the brew time, grind size, and water to coffee ratio. So if you like to experiment without worrying so much about technique, the French press allows for plenty of tinkering.
It also happens to be one of the most peaceful and satisfying brewing methods. You feel more in control than with a drip coffee, but you don’t have to focus so much as you do when making a pour over. Basically, the French press is perfect for relaxes mornings or afternoons when you want an amazing cup without a ton of effort.
If you prefer the cleanest, lightest coffee experience, then you might not be that thrilled with the French press. (Try a pour over instead.) But if you like a bold, robust cup that is rich and viscous, then the French press just might be your new best friend.
And, unlike some brewing methods that require a lot of gear, this new best friend is a pretty cheap date.
Basic French Press Brewing Method
One of the great things about French Press brewing is that it is pretty universal across brewers. Once you’ve mastered the technique for one setup, you should be able to move to another brand without much trouble.
And, as with many brewing methods, the basics come down to hot water and freshly ground coffee beans. In this case, though, we also get to experience the joy of plunging.
1) Heat Water
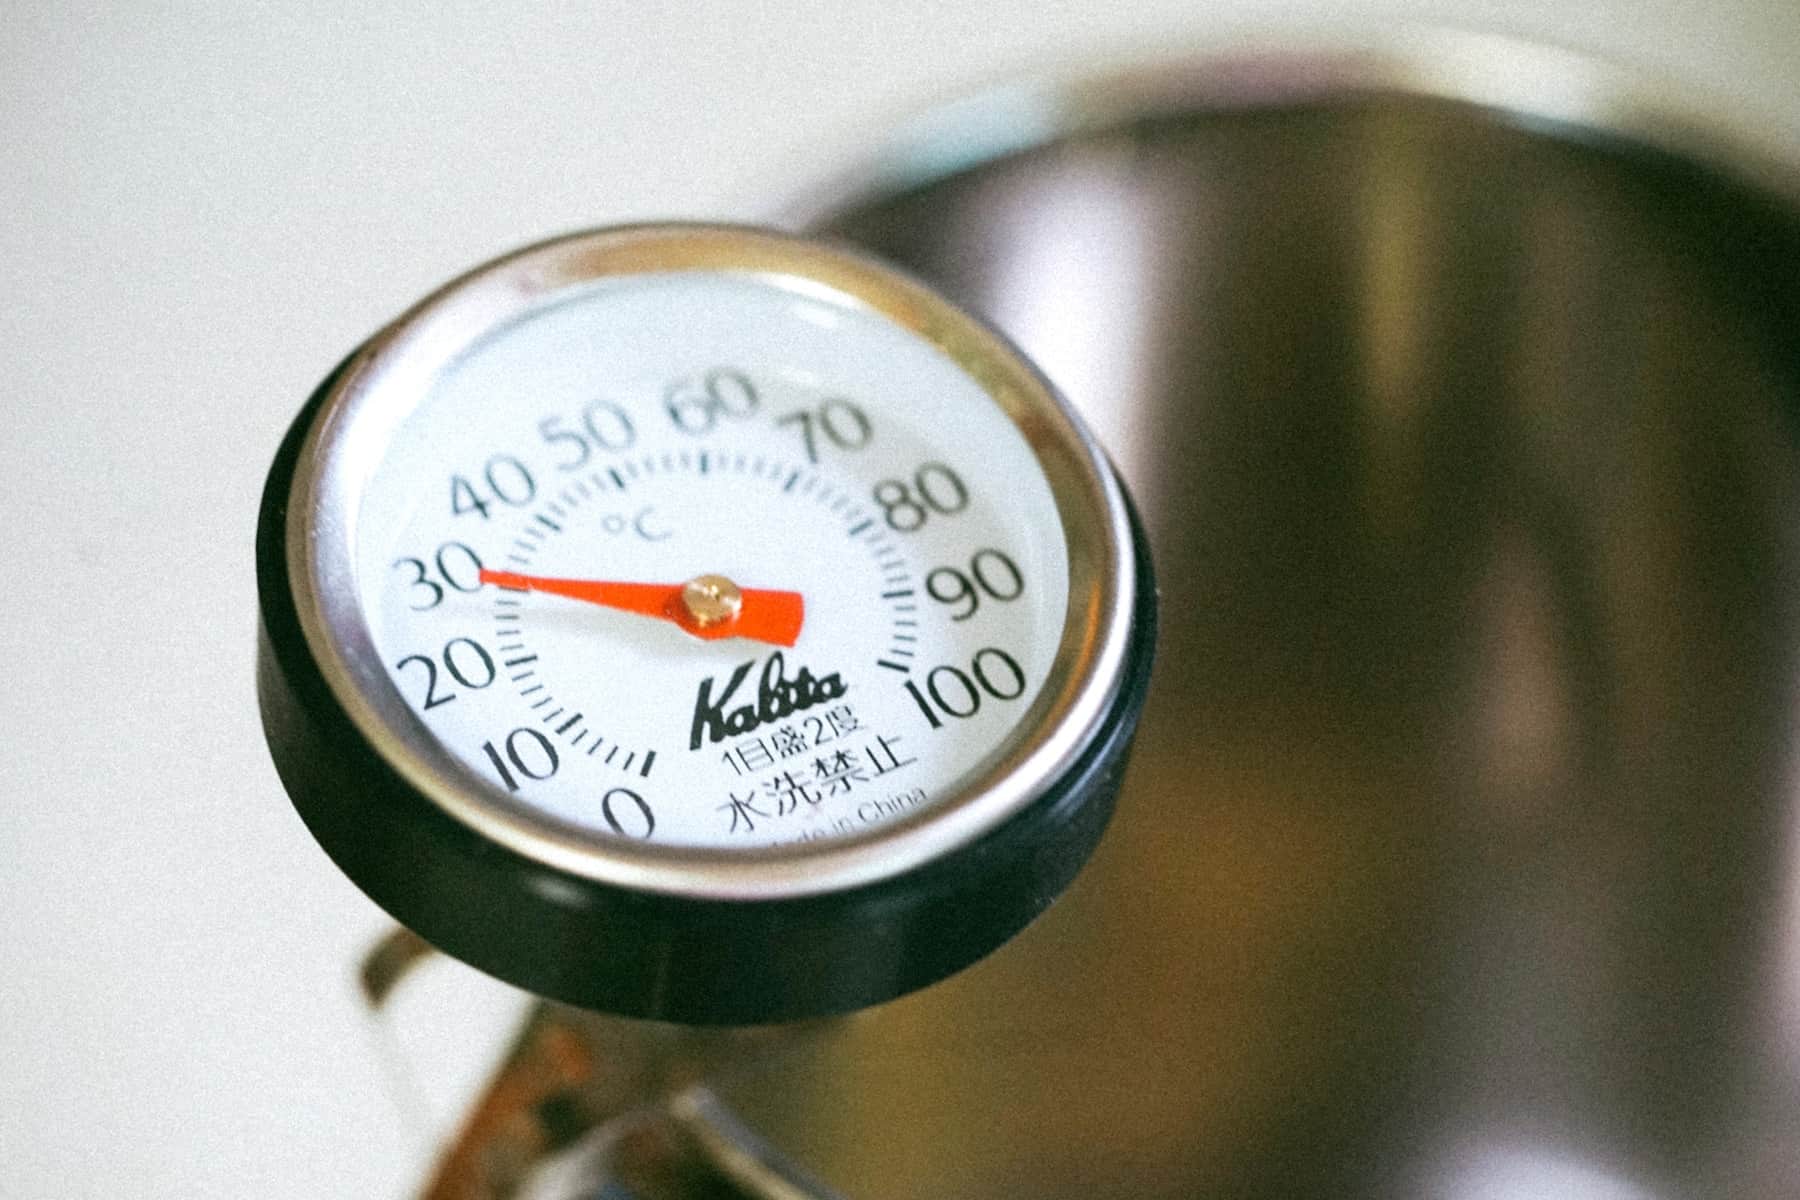
The press is going to provide an extraction that is not instant but not overnight either. So, you’ll want your water hot but not quite boiling. Shoot for 205 degrees Fahrenheit if you have a kettle with a thermometer (which I highly recommend). If not, bring your water to a boil then take it off for 30 to 60 seconds.
2) Preheat Your Press
Since you’re going to be brewing for around four minutes, you don’t want your press (which is most likely glass) to suck all the heat out of your water. So go ahead and rinse your brewer with some hot water to bring it up to temperature. (Leave it in the brewer until after you have ground your coffee.)
3) Weigh and Grind the Coffee
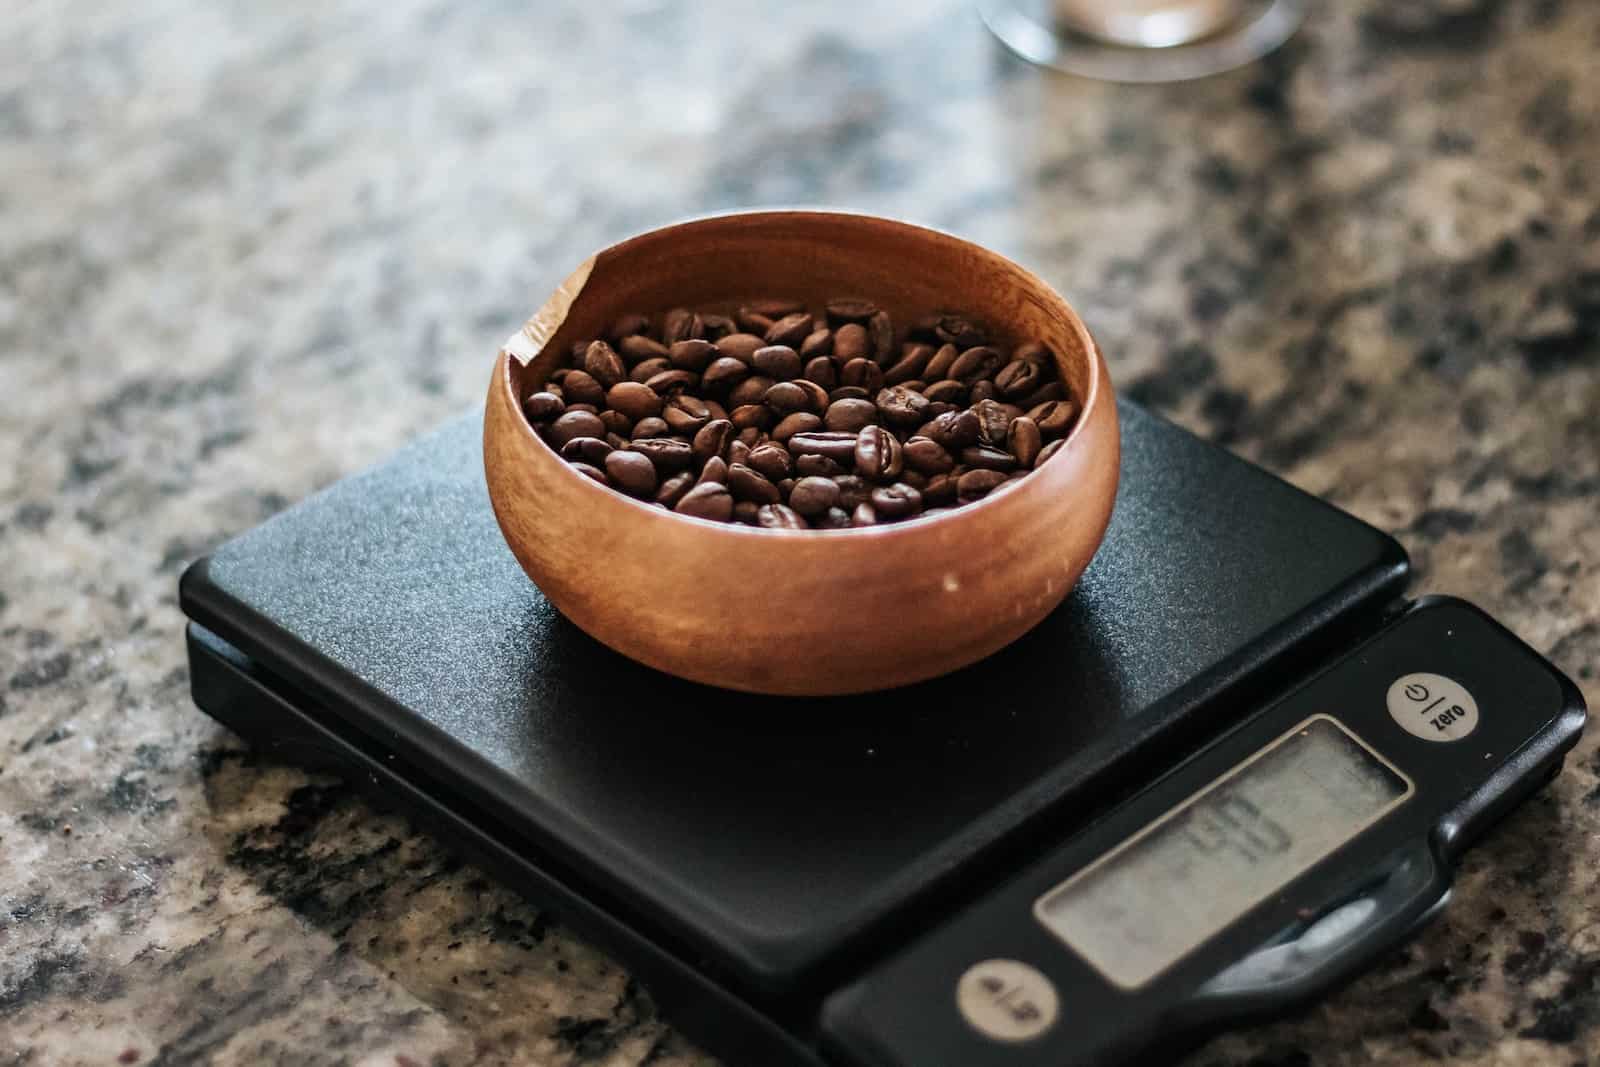
As I’ve discussed before, a proper coffee to water ratio is important for achieving solid, repeatable results. I would recommend starting with 1:15, which is in the middle of the range for French Press. This means you’ll want about three tablespoons of coffee for each cup of water. Adjust accordingly for different sizes and for your personal taste.
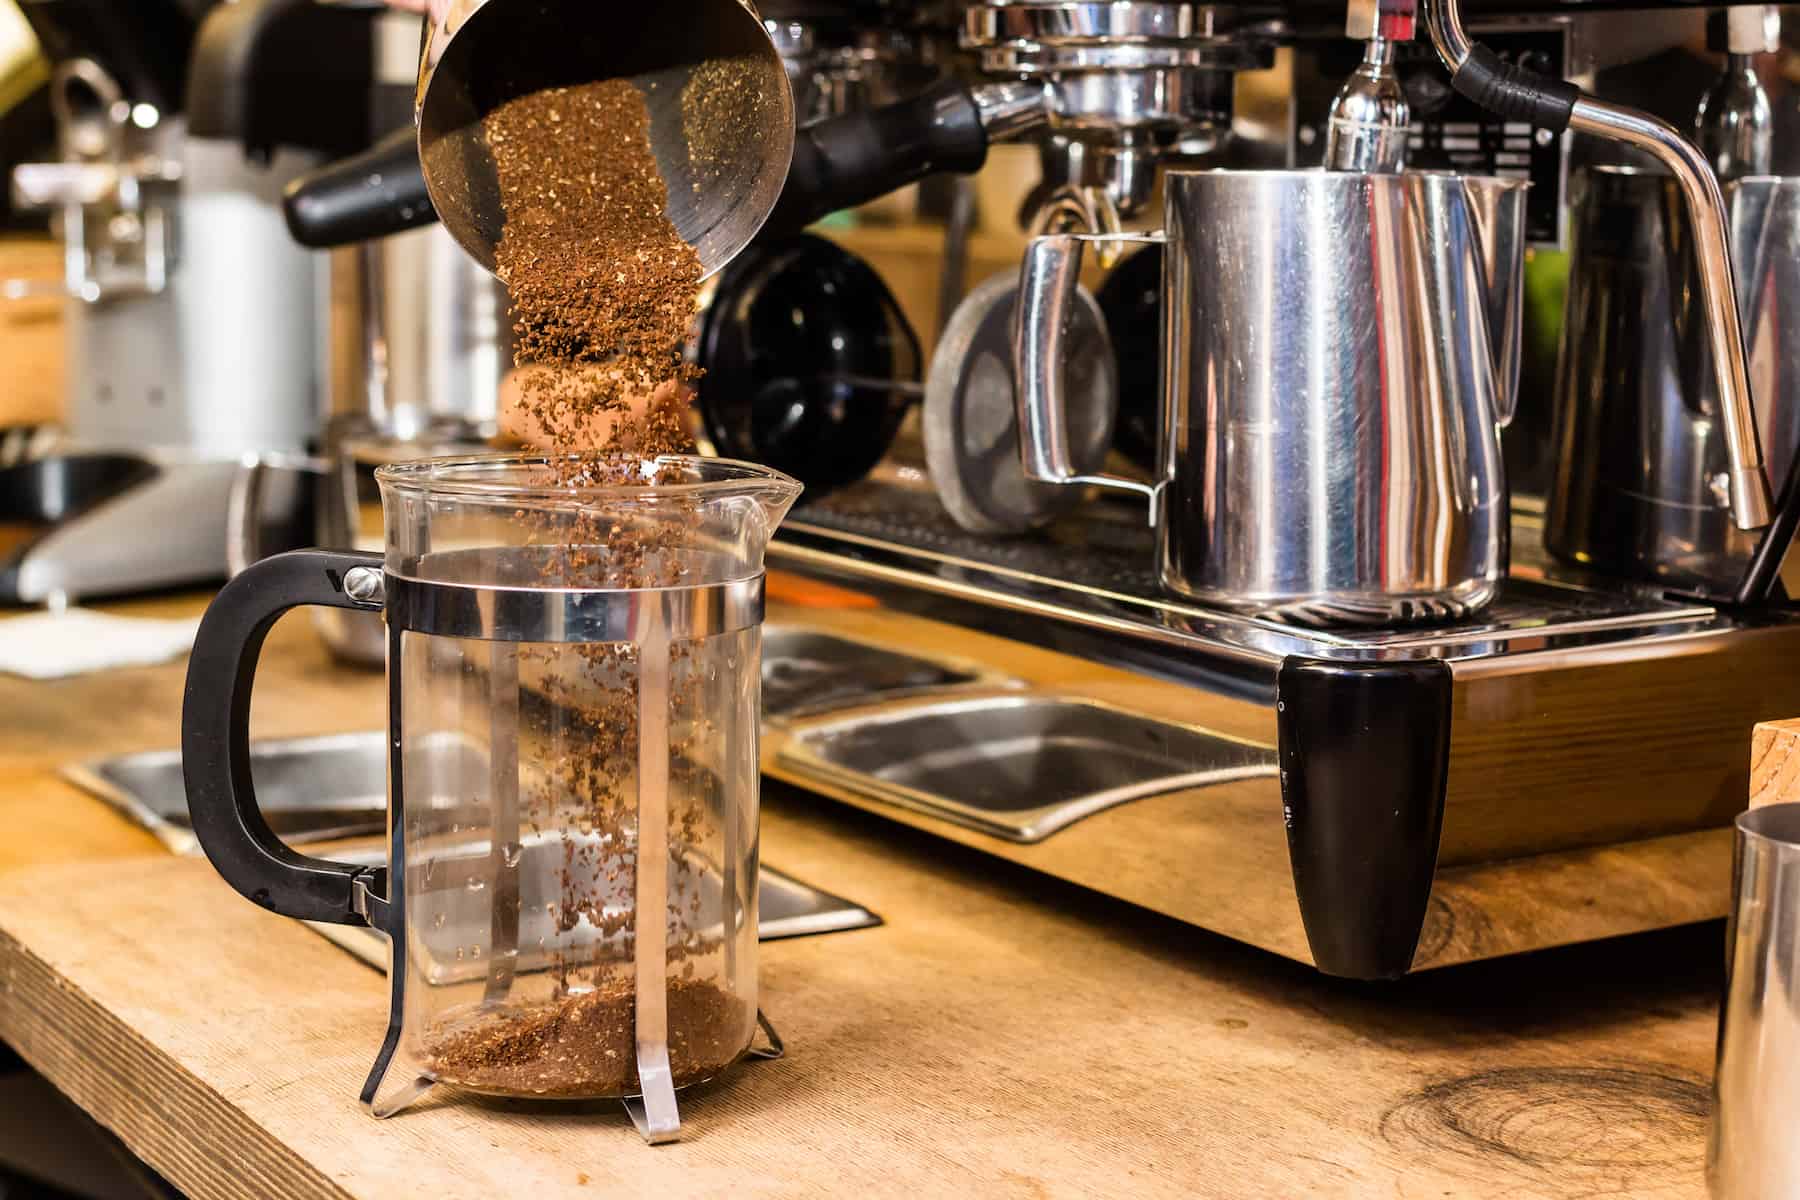
For the grind size, you’re looking for coarse here. Because most French Presses use metal filters, you don’t want a lot of fines getting through, making for a silty brew. Aim for a consistency between kosher salt and breadcrumbs and adjust according to your brewer and preferences. If you have a brewer that uses a paper filters, for example, you can likely experiment with a finer grind.
4) Add Coffee to Press
Once you’re finished grinding, pour out the water you used to preheat the brewer.Pro tip: pour the discarded water into your mug or carafe to bring them up to temperature while you brew.
Then add your coffee to the now-empty press.
5) Add Water to Bloom Grounds
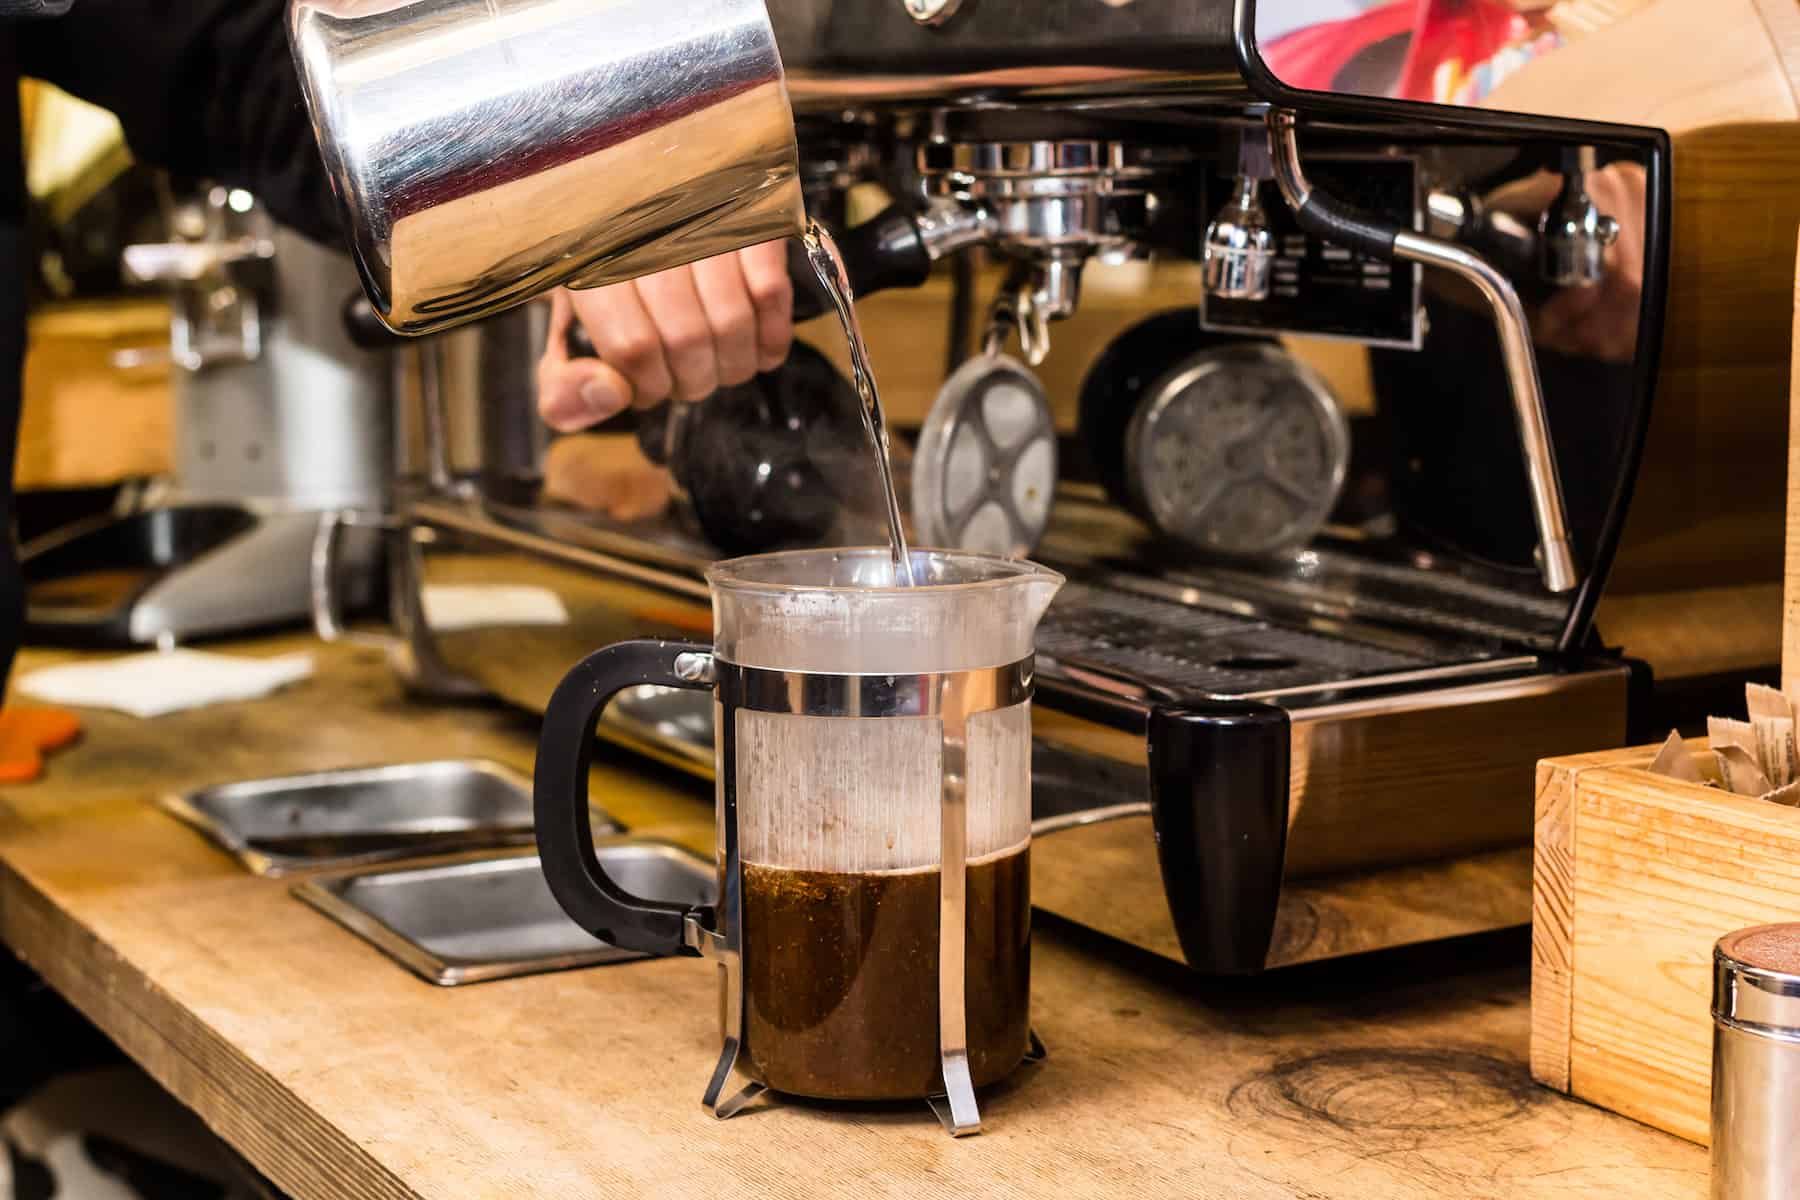
You can now add your hot water to the coffee, but don’t fill it up just yet. Slowly pour water over all the grounds, using about half of the water you plan to use.
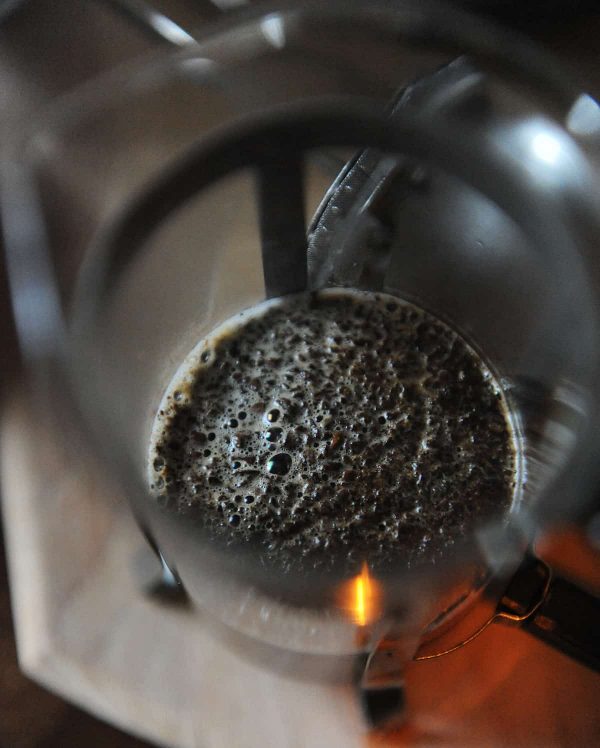
Start your timer as you begin to pour. Now you’re going to wait for a minute while the coffee blooms.
This will allow it to release carbon dioxide, resulting in a superior brew.
6) Break the Crust
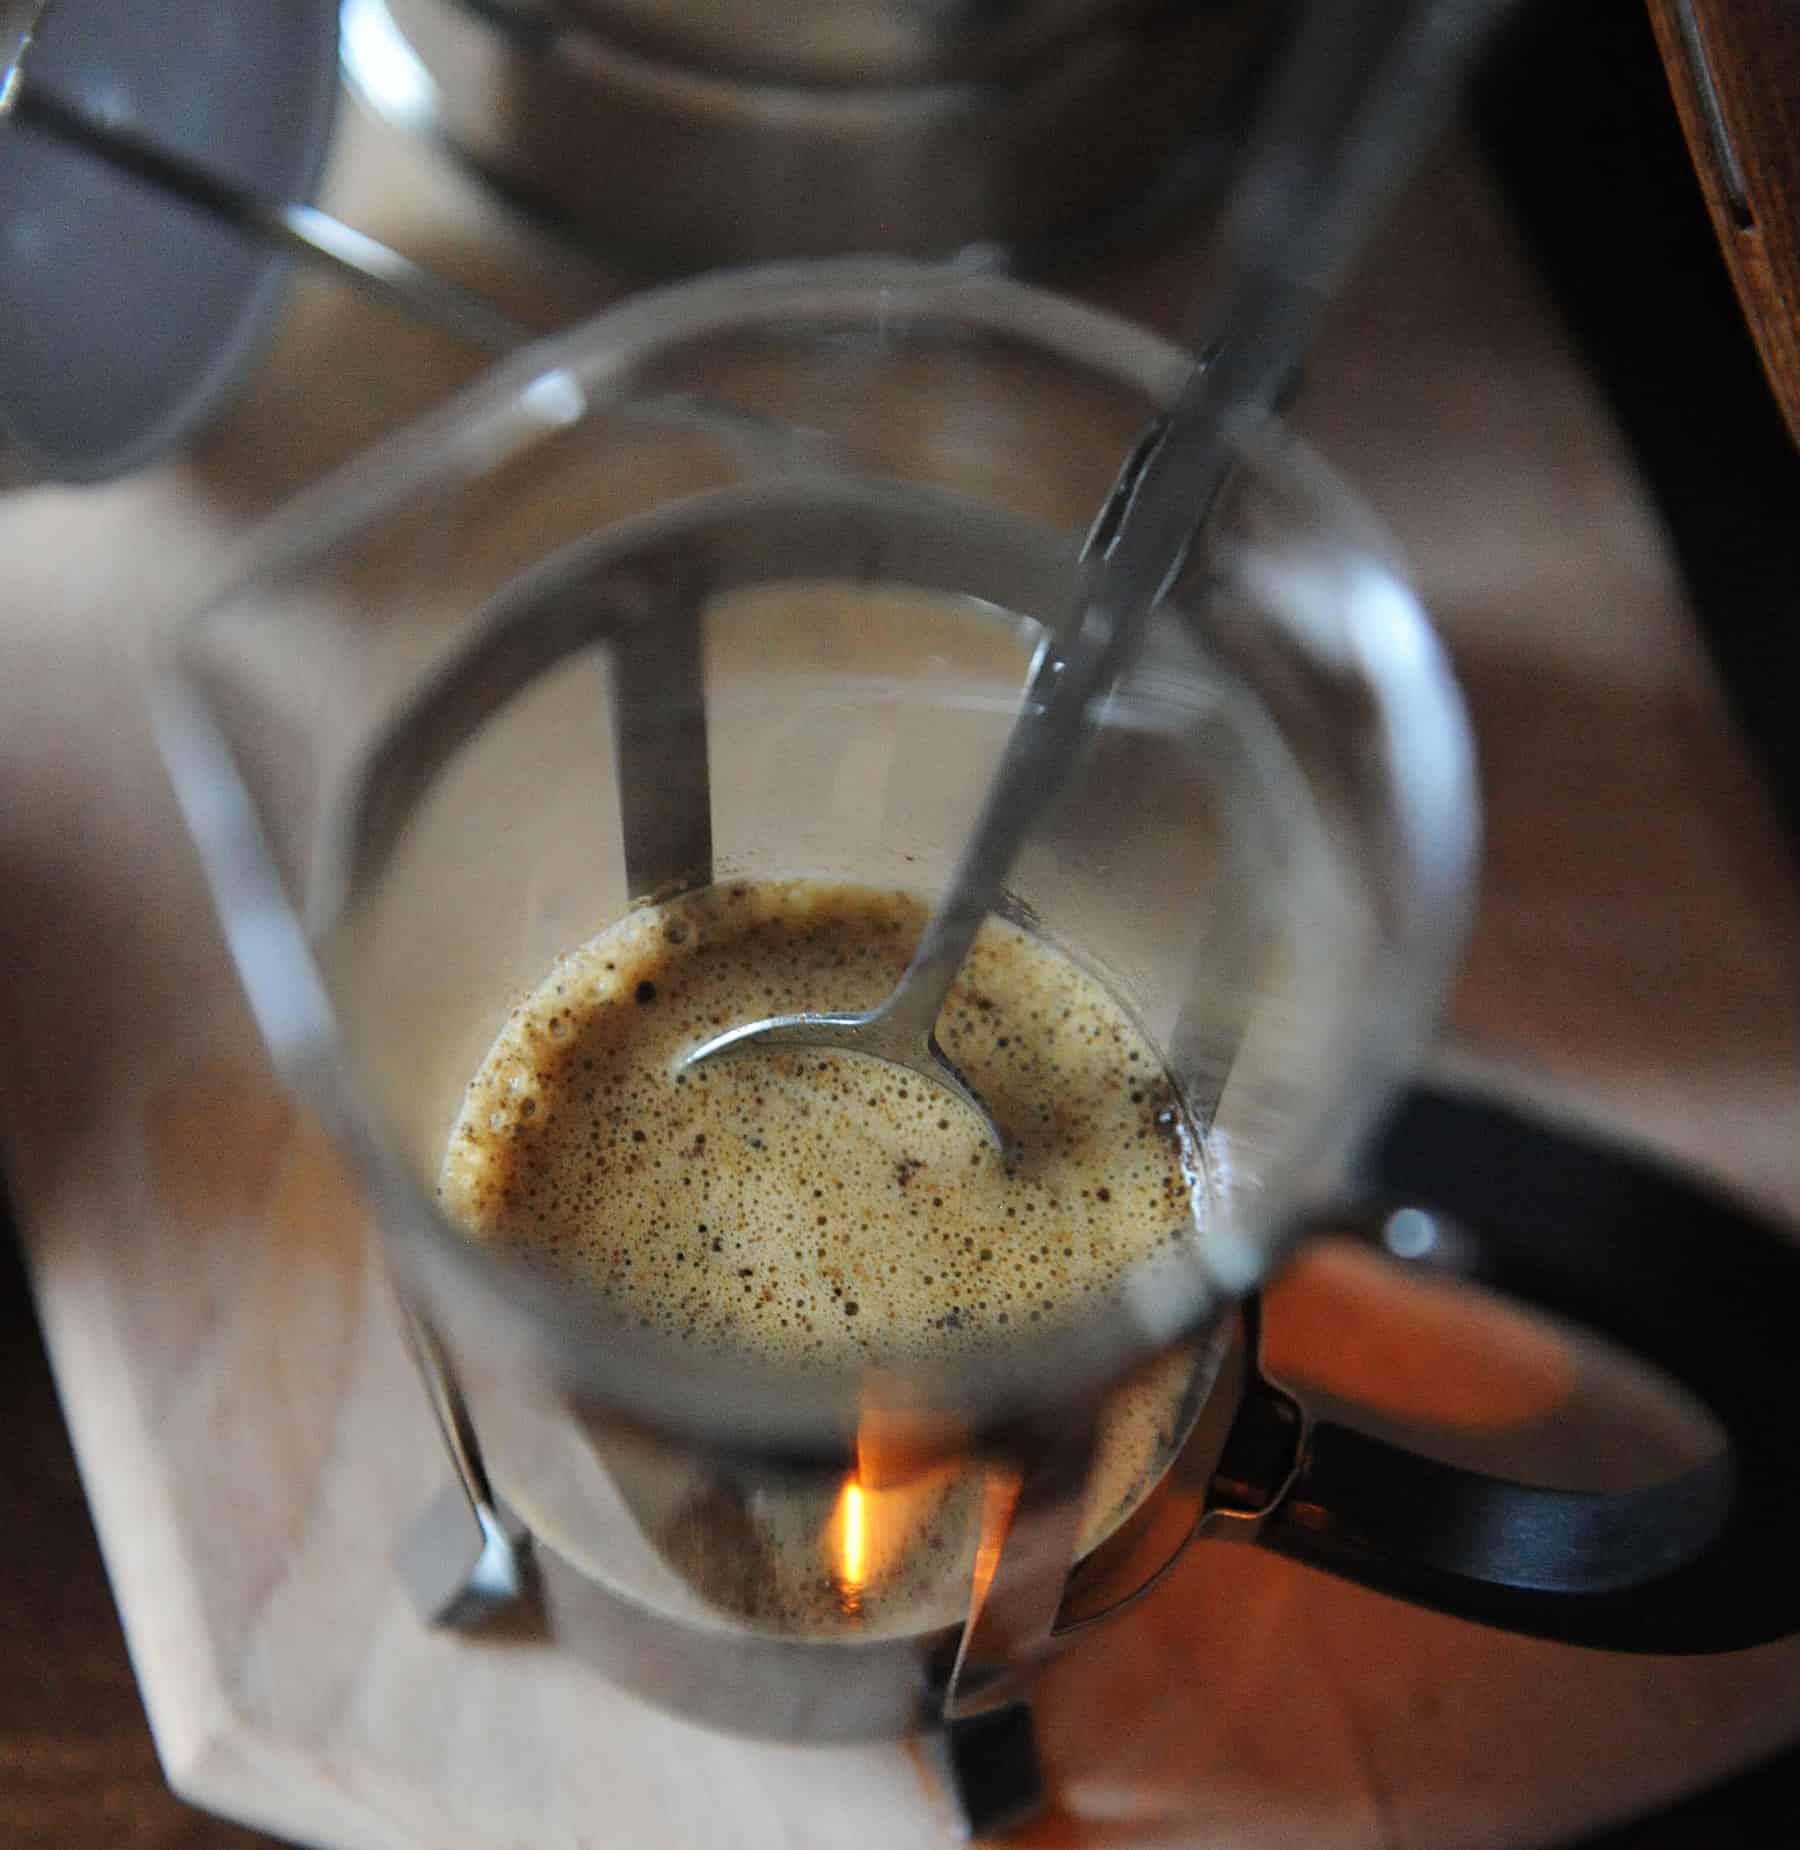
After one minute, break the “crust” of coffee floating at the top of your water. Use a wooden spoon, spatula, or chopstick for added flair to stir the grounds. The wood isn’t essential, but it does make it less likely that you’ll accidentally chip or crack the glass.
Make sure all the grounds are back in the water with their friends, not isolated on top of the water where they won’t fully contribute to the brewing process. This step is simple, but it is essential for even extraction.
7) Pour the Rest of Your Water
Now you can add the rest of your water. If you’re brewing a full brew, you can just fill it nearly to the top (be sure to leave room for the plunger).Otherwise, use your scale and pour enough water to reach the proper ratio.
You don’t have to worry much about how you pour here. Just make sure that all the grounds are fully immersed.
8) Place the Lid and Plunger on Top
Put your lid back on top. Then push the plunger down so it is just resting on the grounds. You do not want to start applying pressure yet. You just want the lid and plunger there to keep in the heat while you brew.
9) Wait
The hot water is now doing all the work for you, so all you need to do is wait. You’ve got about three minutes here (you’re waiting until the timer reaches 4:00), so use this time to think about how awesome coffee is. Or adjust the, “Take time to smell the roses” advice and take a few minutes to smell the coffee brewing. It beats roses any day.
10) Take the Plunge
At the four minute mark, you’ll want to start the press.
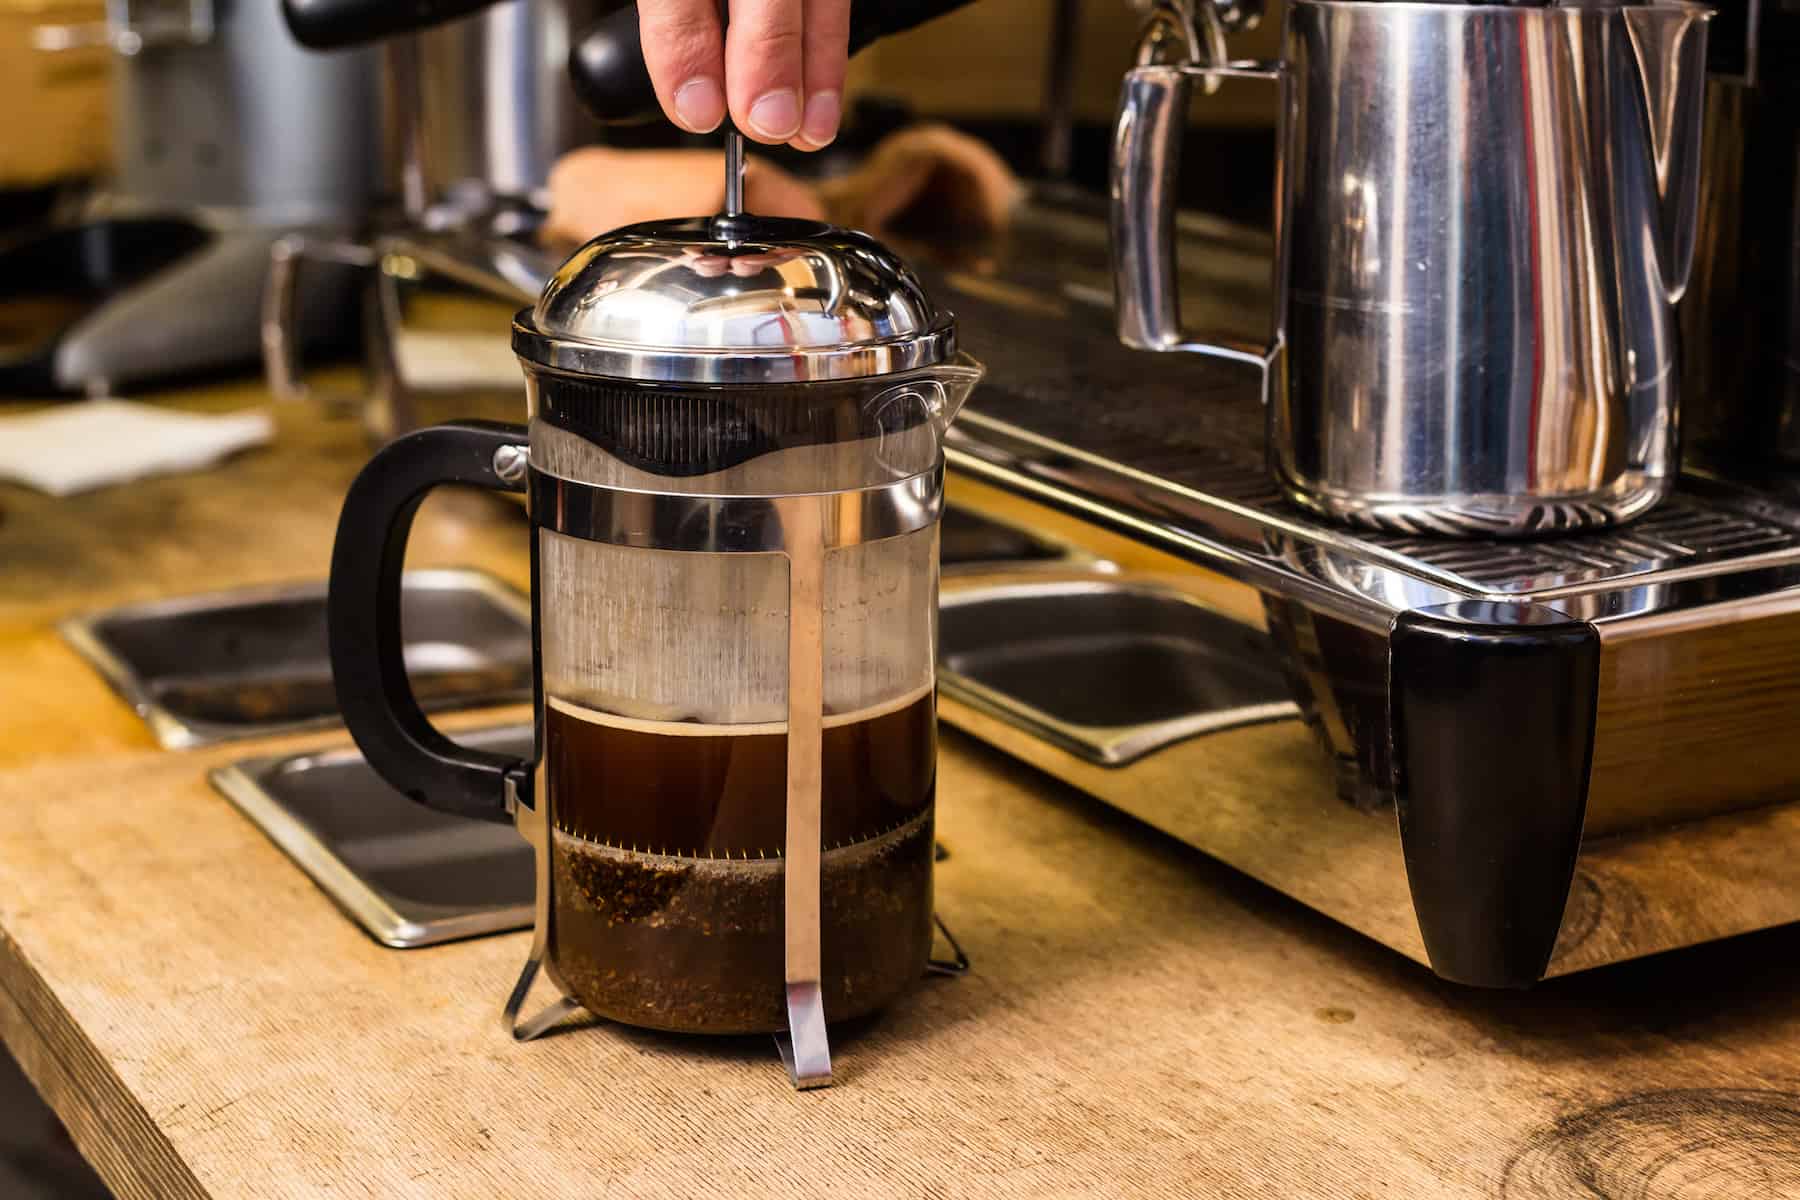
Place your hand on top of the plunger and push down with firm but gentle pressure. It shouldn’t take much more than the weight of your hand unless you have a super-fine mesh. Be sure to push all the way down.
11) Serve
If brewing a single mug, or if you have brewed just enough for you and a friend, you can pour directly into your mugs. Otherwise, pour into a carafe that will keep the coffee warm while you drink your first mug.
Do notleave the brew in the French Press if you have brewed more than you need right away. If you do, you’ll end up with over-extracted coffee, and nobody wants that.
12) Enjoy
French Press is perfect for easy Sunday mornings, the moments where you can have a nice conversation while waiting for the brew. But it’s also great to enjoy by yourself, taking a little time for contemplation before you start a full day.
French Press Tips
Grind Size
While French press brew is a bit more forgiving than some other methods, it is still important to get your grind right. Since the is an immersion method, you use a coarse grind, safe with the knowledge that all the coffee will be in contact with hot water.
You also don’t want a grind that is too fine because that will cause your coffee to move from a viscous texture to one that’s muddy. It will also lead to over-extraction.
So, you want to go for a grind in the kosher salt to breadcrumb range. And, you want it to be consistent so you don’t have a bunch of fine grounds hiding with your chunky ones.
Water Temperature
Like many brewing methods, we want our water temperature near boiling. But since the coffee will be in contact with the water for so long, not running through it like it many other methods, we want to be careful to not go too hot.
Between 200 and 205 degrees Fahrenheit is generally a good target. This usually means you can bring the water to a boil, then measure and grind your coffee. Around 30 seconds to a minute should bring the temperature down enough to keep you from scalding the coffee.
Coffee to Water Ratio
Immersion methods often call for more coffee than others. As I noted earlier, 1:15 is a good start for your proportions of water to coffee.
If you prefer a stronger brew, you can go lower. But I wouldn’t recommend much lower than 1:12. Also, keep in mind that your press only has so much room at the bottom under your piston.
Brew Time
Since the French press technique is fairly straightforward, you want to be sure to pay attention to the few steps you do have. And watching the timer is an important one.
First, you want to make sure you break the crust right around the first minute mark. That way, all of your coffee grounds will be immersed in the water after the bloom.
If you don’t want for this step before stirring, you’ll likely end up with some under-extracted grounds on top.
One nice thing about French press is that you can play around a bit with the brew time. This is particularly true if you experiment with the grind size. For presses that use paper filters, you can get away with a finer grind and a shorter brew time.
French Press Brewing Frequently Asked Questions (FAQs)
Doesn’t French press brew make sludge?
Maybe you’ve had the promise of French press held out to you only to drink what feels like the bottom of a river bed. Bad French press brewing can result in a pretty unsavory experience.
Usually this is the result of grinding the coffee too fine or using a low-quality grinder. Be especially wary of anyone trying to brew you French press if they pull out a blade grinder.
While a French press brew is more robust than other methods, it shouldn’t be sludgy.
How much should I care about pouring technique?
Not much at all.
If you want to work on your technique, you should spend time perfecting your pour over. For the French press, your only goal in pouring is to saturate the grounds.
Since all the coffee will be soaking for three minutes or so, it doesn’t matter much which grounds get wet first. Assuming that you’re stirring.
Do I really need to stir?
Yes.
And you need to wait for the bloom before you do so. This will produce the most flavorful coffee without the risk of under-extraction.
Plus, breaking the crust is actually a pretty fun ritual once you do it a few times.
Do I really need to preheat my brewer?
No.
This step is more of a preference than a golden rule. But it’s a good practice because it will deliver better coffee
Should I get a paper filter?
Only if your brewer requires one.
The metal mesh on most French presses should be sufficient to keep your coffee clean, and some even have a double-mesh setup.
If your brewer requires a paper filter, though, you should probably use one.
It is hard to push down the plunger. What should I do?
If you’re having trouble plunging your French press, which should take just a bit of pressure, you probably have a grind that is too fine.
When this happens, the filter gets clogged and the liquid is not able to flow through easily. Try not to force it, though, because you might break the seal between the filter and the cylinder.
This will allow grounds to escape the filter and flow up the sides of the glass. Which means you’ve got a gritty mess instead of a clean brew.
Just be patient with your plunge and try a coarser grind the next time around. Also, make sure you clean your filter thoroughly after brewing.
Do I need to clean my French press?
You do, but luckily it isn’t difficult. For most brewers, you can discard the wet grounds in the trash or compost. Then simply rinse the cylinder, filter, and plunger.
Many are dishwasher safe, but you probably don’t need to run it through the dishwasher every time. And make sure all the parts are stainless (and that the plastic bits will be okay) before you do so.
Recommended Brewers
French presses all have the same basic setup, but some shine in a few key areas. Check out one of these brewers if you’re looking to meet a specific need.
Best French Press for Travel
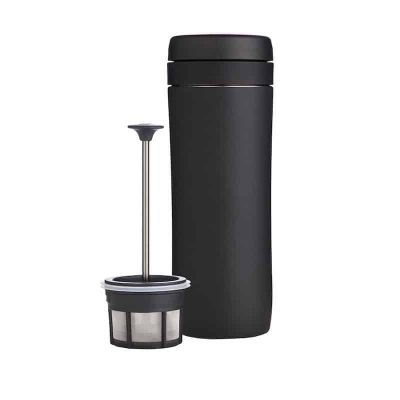
If you want coffee on the go without sacrificing the flavor of the French press, then you need something lightweight and durable. Many stainless French presses will fit that bill, but if you want true portability, consider the Espro Travel Press.
This little piece of magic looks like a tall travel mug, but it actually contains everything you need to make excellent French press coffee. The filter basket holds all the grounds while you push them to the bottom of the mug.
If you want something a bit larger but still light and durable, the JavaPress from GSI Outdoors uses a copolyester carafe that is BPA free and shatter resistant.
Most Stylish
Another great feature of most French presses is that they almost all look great on the counter. The suggest elegance and charm.
For your own style, you’ll probably want to first choice between metal or glass. Both have their benefits and look great in the kitchen or office.
If you like the shine of stainless, you won’t be disappointed with the well-built Frieling Stainless Steel Press, which should last for years.
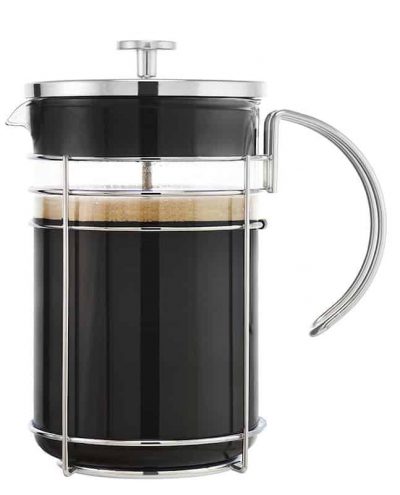
For glass fans, you might check out the Grosche Madrid, with it’s sleek cage and minimal handle. Or, you could always go for the classic look with the Bodum Chambord.
And if you want more of a coolness factor, don’t overlook the Coffee Gator French Press in gunmetal grey or orange. Both definitely make a statement while delivering excellent coffee.
Best for Durability
If you have kids around the house (or you just have slippery fingers), you’ll want to opt for a durable press. That means staying away from glass.
Granted, the better glass presses come with thick, shatter resistant glass. But glass is glass, and it won’t beat metal in the durability contest.
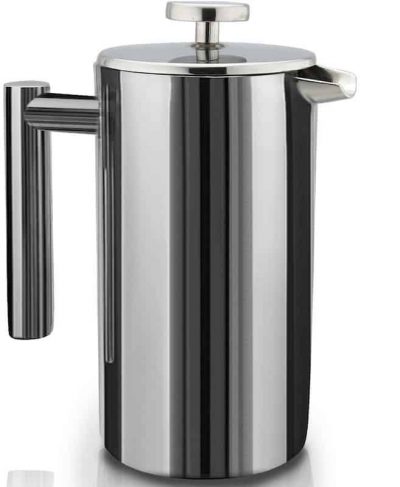
So if that’s your goal, the SterlingPro Double Wall press is a great option. It is less expensive than many metal presses. And with its double wall construction, it helps prevent heat loss while brewing. (Plus, the parts are all dishwasher safe.)
The Coffee Gator presses also do well in the durability category.
Best for French Press for Clean Coffee
Many coffee drinkers stay away from French presses because they don’t want a mouthful of silt. While we’ve already covered how to prevent that, you can also make some gear choices to help you out.
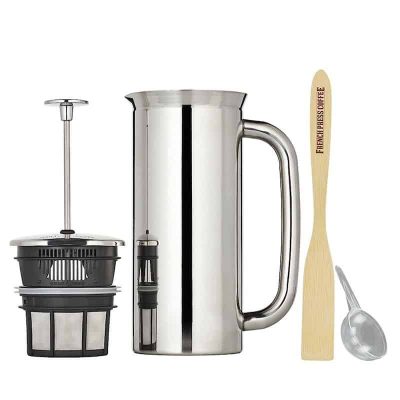
If you want French press coffee that’s so light it could be pour over (or at least you’d like to fool yourself), the Espro P7 might be your best option. This brewer uses two micro-filters, which are said to be ten times finer that your typical press filters.
Or you can use a press that allows for paper filters to safeguard against sediment. In that case, the Espro P5 has you covered. It also has a special filter basket designed just for tea leaves if you like to mix it up.
Recommended Accessories
Unlike some of brewing methods, the French press doesn’t require lots of gear or expensive equipment. After all, it is basically soaking coffee then pushing it through water (with some filtering, of course).
This means no need to drop a bunch of money on kitchen tools. A few key purchases can really up your coffee game, though. Luckily, they are also helpful for other brewing methods or other jobs in the kitchen.
Burr Grinder
If you’ve spent much time on the site, this might start to sound like a broken record. But it really is difficult to overstate the importance of a good grinder.
The good news is that French press doesn’t require a grinder that get super-fine. Lots of burr grinders can do coarse pretty well.
This also means that you might be able to get by with a manual grinder. Since you don’t have to spend as much time grinding when you don’t have as many levels to get through, a hand grinder could be more manageable for French press.
Just remember that the key is consistency. We want coarse, and we want it all to be coarse. A quality burr grinder will get you there.
Scale
Like with pour over brewing, you want to be able to measure both the coffee and the water by weight. While you can get by with using a tablespoons to cup measurement, you likely won’t get consistent results.
For more on why, check out my post about coffee scales.
Luckily, most French presses are fairly compact and relatively lightweight, so you should be able to set them right on top of your coffee scale. Just be sure to use that tare feature to prevent any unnecessary math in the morning.
Kettle (with Temperature Control)
You have to get that hot water from somewhere, and the kettle is still one of the quickest, most efficient ways to do it. I would recommend getting a version that allows for precise temperature control, but you can do alright with a standard kettle as well.
Check out my post about coffee kettles.
Since you don’t need to precisely control water flow in French press brewing, you don’t really need to opt for the gooseneck style. However, if you plan to do any pour over coffee at some point, you might as well get the kettle for it now. Goosenecks work well with French press too.
Timer
As with pouring, precise timing is not as essential in French press brewing as it is with pour overs. But you do need to know when you’ve hit the first minute of bloom so you can break the crust.
And you need to know when the four minute total is up. If for nothing else, having precise measurements will allow you to experiment a little more with your brewing.
Many scales (and some digital kettles) have count up timers that could take care of this for you. If not, consider keeping a basic kitchen timer (or even a stopwatch) handy.
Conclusion
French press coffee has long been a favorite in both coffee shops and homes around the world. Because of its simplicity and easy learning curve, it’s a great entry into manual brewing.
If you’re looking to move away from the automatic nature of drip brewers or the industrial feel of coffee pods, the French press is an easy first step.Start with the basics. Then mix it up and experiment a little to find out how each variable really affects the final result.
With French press brewing, you’re in control. But you also don’t have to worry too much about ruining your morning cup of coffee.
